How to clean a trash can
Six steps, about twenty minutes, and most of it is waiting. The parts that matter are the underside of the rim and the pedal channel — not the walls everyone scrubs.
By Ryder M. · Last reviewed September 27, 2026
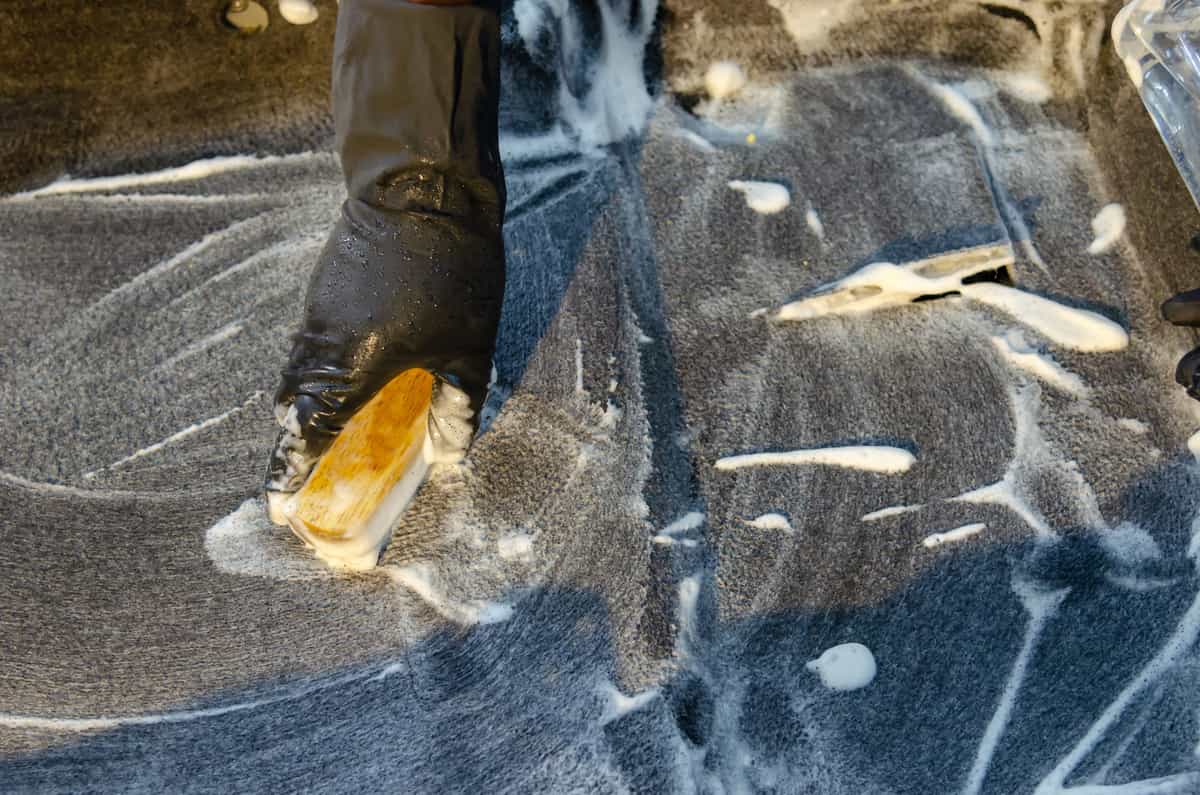
What you need
Hot water, dish soap, a long-handled brush, a cloth, and somewhere the water can drain. That is genuinely all — the specialist products sold for this do not do anything soap does not.
- Hot water and dish soap. Soap is a surfactant, which is precisely the right tool: it lifts fat and protein residue off a surface so it can be rinsed away. That residue is what the bacteria are eating.
- A long-handled brush, so you can reach the base of a tall can without putting your arm inside it.
- White vinegar, optional, for a second pass on a plastic can with scratches.
- Rubber gloves, and if the can has had maggots or meat in it, read the safety note on that page first.
- Somewhere to drain. A driveway, a garden, a shower if it is a small can. Not a kitchen sink, and not a lawn you care about if you are using much soap.
The method
Step 01
Empty it and take it outside
Take the bag out, and take the can somewhere the water can go. If it has a removable inner bucket, lift that out and treat it as a separate item — this is the one real advantage of a bucket can, because the messy part comes to the tap rather than you taking the tap to it.
Step 02
Rinse out the loose material first
A quick hose or a bucket of water before you add soap. There is no point making a soap solution and immediately loading it with debris, and the first rinse also tells you where the stubborn deposits actually are.
Step 03
Fill with hot soapy water and leave it
A few inches of hot water and a good squirt of dish soap in the bottom, then leave it fifteen minutes. This is the step that does the work and it is the step people skip. Dried protein and fat need time to soften; scrubbing at them dry just polishes them.
Step 04
Scrub the three places that matter
Not the walls — the walls are the easy part. Do the underside of the rim where the bag folds over, which traps liquid and is invisible from above. Do the pedal channel and the hollow base, by tilting the can and flushing soapy water through the mechanism. And do the bottom corners, where a leak pools and where a square-cornered can holds residue a round one does not.
Step 05
Rinse thoroughly, then rinse again
Soap residue left behind attracts dirt and can make a plastic can smell faintly soapy for weeks. Rinse until the water runs clear and there is no foam.
Step 06
Dry it completely before the next bag goes in
The most-skipped step, and damp is one of the four conditions bacteria need. Leave it upside down in the sun or in a draft until it is genuinely dry, including the base and the pedal channel. A can that goes back into service damp will smell again within days regardless of how well you washed it.
Stubborn cases
A plastic can that still smells
Plastic is slightly porous and scratches hold residue. After the soap wash, fill the base with a solution of white vinegar and water — roughly one part to four — and leave it a few hours, then rinse and dry in direct sunlight if you can. Vinegar is a mild acid and works on the alkaline residues soap leaves behind; sunlight is a genuine disinfectant. If a can has been scrubbed hard for years and is heavily scored, there is a point at which the residue is in the scratches to stay, and the honest answer is a new can.
A stainless can with water spots
Those are mineral deposits from drying water, and they etch if left. Wipe along the grain with a damp microfibre and a drop of soap, then dry immediately — the drying matters more than the washing. Skip proprietary stainless sprays, which build a film that attracts marks. More on stainless finishes.
An outdoor cart
Same method, bigger scale, and worth doing twice a year rather than never. Lay it on its side, hose it out, and use a long brush — the Rubbermaid BRUTE's molded venting channels, which exist to make bags easier to remove, also give residue somewhere to sit, so run the brush down them. Let it dry in the sun with the lid open. Outdoor cans.
Anything with maggots in it
Deal with the maggots first, then clean. The sequencing matters and the safety note comes before the method — that page is here.
How often, and how to need it less
| Can | Clean | Trigger for an extra clean |
|---|---|---|
| Kitchen can | Monthly | Any bag leak, immediately |
| Bathroom bin | Monthly | Anything damp goes in it |
| Compost caddy | Every empty, or weekly | It is a wet bin by definition |
| Outdoor cart | Twice a year | After anything meat-based, or any maggots |
| Pull-out bucket | Monthly | A leak — check the cabinet floor too |
The way to clean less often is to keep the can dry. A bag that does not leak is the whole game, and the two things that cause leaks are overfilling and a bag that has slid down inside the can so waste sits against bare plastic. Fix the second one and the first becomes much less likely: why bags slip and the five fixes.
Between cleans, the two things worth having: a pod in the lid headspace where odor collects, and a baking soda powder for an outdoor can too big for a pod to matter. Neither substitutes for the wash.

Best in-lid pod
simplehuman Odorsorb Pod
A plant-oil pod that clips under the lid and works for around 45 days — the right place to put odor control.
Best for outdoor cans
Arm & Hammer Trash Can & Dumpster Deodorizer, 42.6 oz
Baking soda in a sprinkle-top jar, sized for the outdoor can where a lid pod would be pointless.
Common questions
How do you clean a smelly trash can?
Empty it, rinse the loose material, fill the base with hot soapy water and leave it fifteen minutes, then scrub the underside of the rim, the pedal channel and the bottom corners. Rinse thoroughly and dry it completely before the next bag.
Can I use bleach to clean a trash can?
Not on stainless steel — chlorine bleach pits it permanently. On plastic it kills bacteria but does not remove the residue they feed on, so the smell returns. Dish soap and hot water is the right tool.
How often should you clean a trash can?
Monthly for an indoor can, twice a year for an outdoor cart, and immediately after any bag leak. A compost caddy needs it every time it is emptied.
What is the best thing to clean a trash can with?
Hot water and dish soap. Soap is a surfactant and lifts the fat and protein residue that bacteria are living on, which is exactly the job. White vinegar is a useful second pass on scratched plastic.
How do you clean a trash can you cannot move?
Work in place with a spray bottle of hot soapy water and a cloth, doing the underside of the rim and the base first, and soak up the runoff with old towels. It is a worse job than taking it outside, which is one reason a can with a removable inner bucket is easier to live with.
Read next
- Odor ControlThe free fixes first, then filters, deodorizers and cans built to contain smell.
- How to stop trash can smellSeven steps in order, free ones first, plus the three places residue hides.
- How to get rid of maggots in a trash canBoiling water, safely — plus why they appeared overnight and how to stop it.
- The best stainless steel trash cansSix stainless cans, and the finish comparison nobody publishes.
- Why your trash bag doesn't fitThe mechanism behind the overhang, and five fixes ordered by cost.
- The best outdoor trash cansSix outdoor cans on construction, lid design and what your hauler will lift.
The author
Ryder M.
Owner and editor of Lid & Liner, published by Magoo Media Group. He started the site after getting tired of the same problem everyone has: every “best trash can” article covers ten products and none of them tells you whether a 13-gallon bag actually fits a 13-gallon can. Lid & Liner covers one category and tries to cover it completely.
Last reviewed September 27, 2026. Spotted an error? Tell us and we will correct it and note the correction.