How to clean a stainless steel trash can
The outside and the inside of a stainless can want opposite treatments, and getting that the wrong way round is how people put permanent marks on a finish they paid extra for.
By Ryder M. · Last reviewed October 17, 2026

Lid & Liner is reader-supported. If you buy through a link on this page we may earn a commission at no extra cost to you. It never changes which product we rank first — how we pick and how we make money.
The short answer
Clean the steel with a soft cloth, warm water and a mild detergent, wipe with the grain, and dry it immediately. That is simplehuman's own care instruction for its cans, and it generalizes across the category. The things to keep away from the steel are the things people reach for first: steel wool, scouring pads, stainless "polish", bleach, salt and acids - all of which can mark or pit the finish permanently. The inside bucket is a different job, and that is where a degreaser or a diluted bleach solution belongs.
What you need
- Two soft cloths - one damp, one dry. Microfiber if you have it.
- A mild dish detergent, or a dilutable degreaser for a can that has gone properly greasy.
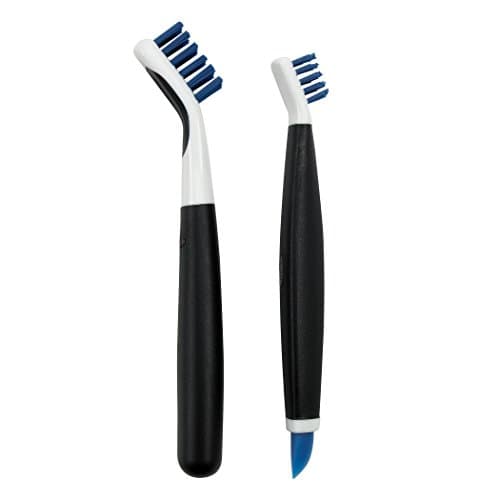
- A brush that reaches into a rim and a pedal channel. This is the tool most people do not have, and the lid rim is where the smell lives.
- Warm water, and somewhere to do it - a shower, a garden, or a bath if the can is small.
- Not steel wool, not a green scouring pad, not bleach on the steel, not an acidic bathroom cleaner, not oven cleaner.
The method
Step 01
Take the bucket out first
Nearly every stainless can has a removable inner bucket or liner ring. Pull it out and work on the two parts separately - that is the whole trick to cleaning one of these quickly. If yours has a lid that lifts off, take that off too.
Step 02
Deal with the inside: degreaser, time, brush
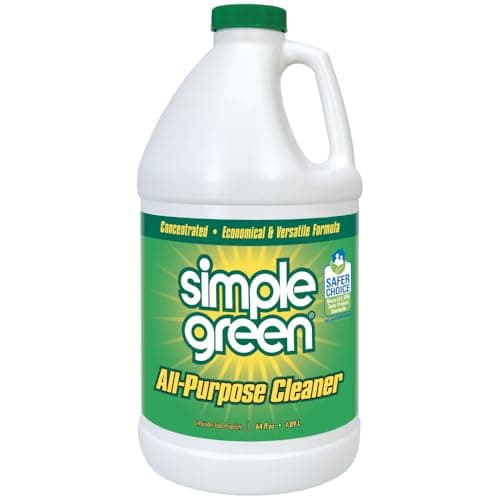
Spray or sponge a diluted degreaser into the bucket, and leave it for a few minutes before you touch it. Simple Green publishes a garbage-can dilution of roughly half a gallon of concentrate to half a gallon of water for a badly soiled can, which tells you how strong a job this is. Then brush, rinse, and tip it to drain. Letting the chemistry do the work is faster than scrubbing a dry bucket.
Step 03
Do the lid rim and the pedal channel
This is the step that actually fixes a smell. The film that smells collects on the underside of the lid and in the channel the pedal rod runs through, and neither gets touched by wiping the outside. A small brush and warm soapy water, then rinse and dry.
Step 04
Clean the steel with the grain
Damp cloth, warm water, a little mild detergent. Brushed stainless has a direction to it - wipe along the grain rather than in circles, and marks will not show. Do not use a stainless polish: simplehuman's care guidance specifically lists stainless polisher, steel wool, bleach, salts and acids as things that will damage the product.
Step 05
Dry it immediately
Water left to evaporate on steel leaves the minerals behind, and that is what water spots are. A dry cloth straight after the damp one is the difference between a can that looks new and one that looks like it is in a hard-water house.
Step 06
Deodorize, then reassemble dry
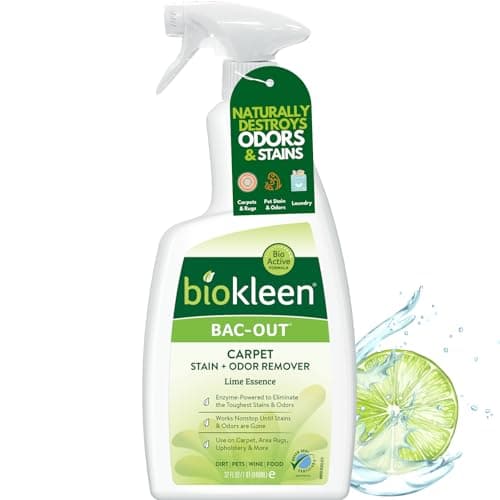
If the bucket still smells after cleaning, an enzyme product digests the residue rather than covering it - or a soak with diluted bleach or baking soda on a plastic bucket. Let both parts dry fully before the bucket goes back in: a damp bucket in a closed can is how the smell restarts.
What to use, and what each product is actually for
Three products cover everything above, and it is worth being clear about which does what - because one of them is not a disinfectant and the label does not pretend to be.
The degreaser whose maker publishes a garbage-can dilution, the brushes that reach a lid rim and a pedal channel, and the enzyme spray for a bucket that still smells after it is clean.
Best cleaner overall
Simple Green All-Purpose Cleaner
The degreaser we would reach for first: it breaks down the fat and food residue that actually makes a can smell, and Simple Green publishes a garbage can method for it.
Price as of October 17, 2026. #ad How we make money
Best detail brushes
OXO Good Grips Deep Clean Brush Set
Two small stiff brushes for the three places a trash can actually smells from: the underside of the rim, the pedal channel and the lid hinge.
Price as of October 17, 2026. #ad How we make money
Best enzyme cleaner
Biokleen Bac-Out Stain and Odor Remover
The enzyme option for residue that has soaked in — a bin that still smells after a proper wash, rather than one that is merely dirty.
$12.73 · 24% off · Price as of October 17, 2026. #ad How we make money
If what you have is not a dirt problem but a smell problem that survives cleaning, that has its own causes and its own page: trash can still smells after cleaning. For the general method on any can, including outdoor plastic ones, how to clean a trash can is the parent guide.
Fingerprints, water spots and rust speckles
- Fingerprints. The marks are oil from skin. Warm water with a drop of detergent removes them; a dry cloth afterwards stops the smear. Fingerprint-resistant finishes reduce this, they do not end it - and matte finishes hide it better than brushed.
- Water spots. Minerals left behind by evaporating water. Dry the can after any wet contact and they stop appearing. Do not attack an existing spot with an abrasive - repeat the damp-then-dry cycle instead.
- Brown speckles that look like rust. Usually not the can rusting: it is iron transferred onto the surface, most often from a steel wool pad or an abrasive sponge used on it once. This is the main practical reason the makers ban steel wool.
- Sticker residue. simplehuman's own guidance is an adhesive remover such as Goo Gone, then rinse the area with water and dry with a soft cloth. Do not scrape it.
- Dents. Nothing fixes a dent in a thin steel skin. If your cans get knocked, a plastic body is the honest answer - stainless steel vs plastic trash cans sets out that trade.
How often
simplehuman's suggestion for the steel is weekly, which is about right for a can in an open kitchen - it is a two-minute wipe, not a project. The inside is a different cadence: do the bucket and the lid rim properly once a month, and immediately after any leak, because a leak that dries in a closed can is the start of every serious smell. How often should you take out the trash covers the emptying schedule that keeps the deep clean rare.
Common questions
How do you clean a stainless steel trash can?
Take the inner bucket out, degrease and brush the bucket and the lid rim, then wipe the steel with a soft cloth, warm water and a mild detergent - along the grain - and dry it immediately.
Can you use bleach on a stainless steel trash can?
Not on the steel. Chlorine attacks the passive layer and can pit the finish. A plastic inner bucket is different - simplehuman suggests soaking a removable bucket in diluted bleach or baking soda to remove odor.
What should you never use on a stainless trash can?
Steel wool, scouring pads, stainless polish, bleach, salts and acids. simplehuman's care guidance names those specifically as things that will damage the product.
How do you get fingerprints off a stainless steel trash can?
Warm water with a drop of mild detergent on a soft cloth, wiped along the grain, then a dry cloth. The marks are skin oil, so a degreasing wipe is all that is needed.
Why does my stainless trash can have rust spots?
Usually it is iron transferred onto the surface rather than the can corroding - typically from an abrasive pad or steel wool used on it. That is why the makers ban both.
How do I get rid of the smell inside the can?
Clean the lid rim as well as the bucket, because that is where the film that smells collects. If it survives a proper clean, use an enzyme product that digests the residue, and dry everything fully before reassembling.
Sources
Every specification on this page traces to one of these, checked at the time of writing. Where a manufacturer does not publish a figure, the page says so rather than estimating it.
- simplehuman - product support, care and cleaning (weekly soft cloth with warm water and mild detergent; no steel wool, polisher, bleach, salts or acids; sticker residue; inner bucket soak)
- Simple Green - cleaning garbage cans (published dilution and method)
- Simple Green - All-Purpose Cleaner (no bleach, biodegradability and certifications)
- OXO - Good Grips Deep Clean Brush Set (brush sizes and intended surfaces)
Read next
- How to clean a trash canThe full method, including the underside of the rim everyone misses.
- Trash can still smells after cleaningSix reasons a scrubbed can still smells - and why four of them are not in the can at all.
- The best stainless steel trash cansSix stainless cans, and the finish comparison nobody publishes.
- Stainless steel vs plastic trash cansThe two materials compared on fingerprints, dents, odor and cleaning, with the verdict by room.
- The best trash can cleanersDegreaser, disinfectant or enzyme - six cleaners and tools, matched to what your can actually has wrong with it.
- How often should you take out the trash?Every other day, daily in summer - and why waiting for the can to be full is the wrong rule.
The author
Ryder M.
Owner and editor of Lid & Liner, published by Magoo Media Group. He started the site after getting tired of the same problem everyone has: every “best trash can” article covers ten products and none of them tells you whether a 13-gallon bag actually fits a 13-gallon can. Lid & Liner covers one category and tries to cover it completely.
Last reviewed October 17, 2026. Spotted an error? Tell us and we will correct it and note the correction.