How to get rid of mold in a trash can
Mold in a can is not a hygiene failure, it is a moisture one - something wet has been sitting in the dark. Remove it physically, dry the can properly, and fix the moisture, in that order.
By Ryder M. · Last reviewed October 6, 2026
Lid & Liner is reader-supported. If you buy through a link on this page we may earn a commission at no extra cost to you. It never changes which product we rank first — how we pick and how we make money.
The short answer
Scrub it off with detergent and water, rinse, then dry the can completely - physical removal is what works, not a chemical. Mold needs moisture, a food source and still air, and a trash can in a warm kitchen or a damp garage supplies all three. Killing it without removing it leaves the dead growth and the stain, and killing it without drying the can means it is back within a fortnight.
Where you find it tells you where the moisture is: under the lid rim means condensation, in the base means a leaked bag, in the pedal channel means a spill that ran down the inside of the body. Each one has a different fix, and the cleaning is the easy part.
Why bleach is not step one
The instinct is to reach for bleach, and on a hard non-porous surface like a plastic or stainless can it will kill surface growth. But three things make it the wrong first move.
- It does not remove anything. Bleach lightens the stain, which looks like success. The dead growth and the organic film it fed on are still there, and both are food for the next colony.
- It does not degrease. The film in a trash can is fat and protein. Bleach reacts with the surface of that film and stops. A detergent or degreaser lifts it off, which is what actually denies the mold its food.
- It is a real hazard mixed with anything else. Bleach plus an ammonia-based cleaner produces chloramine gas, and this is exactly the situation - a sequence of products in an enclosed space - where people do it by accident.
Detergent and scrubbing first. If you then want to disinfect, use a product whose label covers the surface you are treating - OdoBan's EPA-registered label names garbage cans specifically, which is a better basis than guessing.
The method
Step 01
Empty it and take it outside
Remove the bag and the inner bucket if there is one. Work outdoors on grass, or in a bathtub if it is a small can and the weather is against you. Mist the mold with water before you start so you are not scrubbing dry spores into the air.
Step 02
Wash with detergent, not a disinfectant
Hot water and an all-purpose cleaner or degreaser. Simple Green publishes a method for garbage cans; any detergent concentrate works on the same principle. Coat the whole interior, the underside of the lid and the rim channel, and give it a few minutes to work.
Step 03
Scrub every seam, not just the flat surfaces
Mold lives in the places a cloth does not reach: the channel under the lid rim, the hinge recess, the gap between the body and the base trim, and the pedal housing. A small stiff detail brush is the tool - this is a job for bristles, not a sponge.
Step 04
Rinse thoroughly
Dead growth and detergent residue both feed the next colony, so rinse until the water runs clear. Pay particular attention to the base, where rinse water pools and where you least want it left.
Step 05
Disinfect, only if you want to
Optional, and genuinely worth it if the mold followed a leaked bag of food waste. Use a disinfectant concentrate at the label dilution, keep the surface wet for the full stated dwell time, and rinse if the label says to. This step kills; the previous three removed.
Step 06
Dry it completely - this is the step that matters
Stand the can upside down with the lid open, outdoors in direct sun if possible, for at least an hour and longer if it is cool. Then dry the rim channel and the lid seam with a cloth, because they hold water after the walls are dry. Do not fit a new bag until the inside is dry to the touch.
Stop it coming back
Mold that recurs in the same spot is telling you where the moisture is. Fix the input and you will not do this again.
| Where it grows | What it means | The fix |
|---|---|---|
| Under the lid rim | Condensation | Dry the rim after cleaning; empty before the can is full |
| In the base, under the liner | A bag has leaked | Double-bag wet waste; check for a punctured liner |
| Up the inside of the body | A spill ran down the outside of the bag | Use a bag that fits the rim properly |
| Around the pedal housing | Liquid got into the mechanism | Clean the channel; dry it fully |
| All over, in a garage | Ambient humidity | Ventilation, and keep food waste out of the garage can |
| On a bathroom can | Shower humidity | A lidless or vented can dries between uses |
What this job actually needs: a detergent concentrate to remove the growth, a disinfectant with a label that covers garbage cans if you want to follow up, and brushes small enough to get into the rim channel.
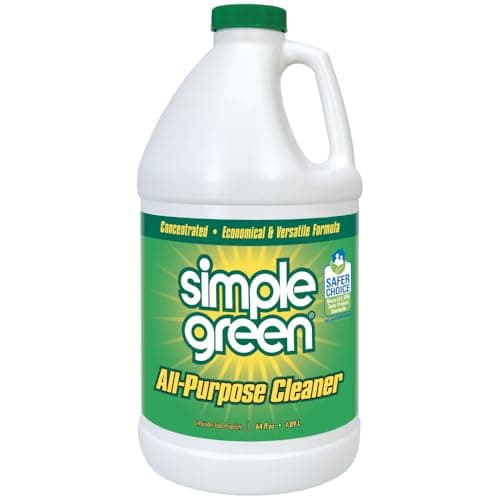
Best cleaner overall
Simple Green All-Purpose Cleaner
The degreaser we would reach for first: it breaks down the fat and food residue that actually makes a can smell, and Simple Green publishes a garbage can method for it.
Price as of October 16, 2026. #ad How we make money
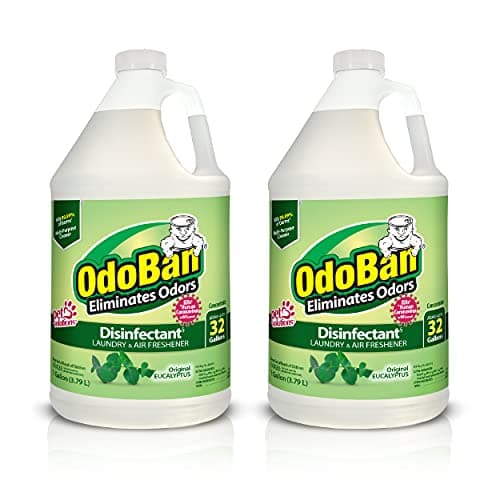
Best disinfectant
OdoBan Disinfectant and Odor Eliminator Concentrate
The registered disinfectant step, and one of the few whose EPA label carries directions for garbage cans and waste receptacles specifically.
Price as of October 16, 2026. #ad How we make money
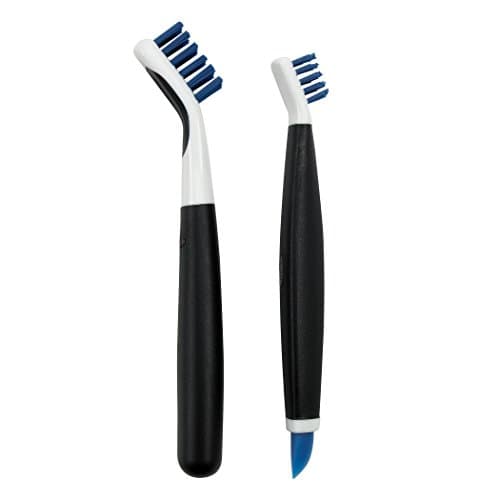
Best detail brushes
OXO Good Grips Deep Clean Brush Set
Two small stiff brushes for the three places a trash can actually smells from: the underside of the rim, the pedal channel and the lid hinge.
Price as of October 16, 2026. #ad How we make money
The single most effective habit is the same one that fixes most can problems: bag it, tie it, and do not let wet waste sit loose. A can that only ever receives tied bags has almost no moisture and no food source. How to stop trash can smell covers the related version of this problem, and how to clean a trash can is the routine version of the method above.
When to stop cleaning and replace the can
A plastic or stainless can is non-porous, so mold cannot grow into the material - which means almost any can can be saved. Three exceptions are worth knowing. If the body is cracked, growth gets into the crack and you will never reach it. If the can has an absorbent part - a fabric liner sleeve, a foam gasket, a cardboard-backed filter housing - that part has to be replaced rather than cleaned. And if the mold is inside a sealed mechanism, like a sensor can's lid module, there is nothing to scrub.
On the cracked-body case, replacing the can is the cheaper answer than repeated cleaning, and if the lid is the only casualty it may be available as a part. Trash can lid replacement.
Common questions
How do you get mold out of a trash can?
Mist it with water so you are not raising spores, wash with hot water and a detergent or degreaser, scrub every seam with a stiff detail brush, rinse until clear, then dry the can completely upside down. Physical removal is what works.
Should you use bleach on mold in a trash can?
Not first. Bleach lightens the stain and kills surface growth but does not remove the dead growth or the greasy film underneath, and it must never be mixed with an ammonia-based cleaner. Degrease and scrub first; disinfect afterwards if you want to.
Why does my trash can keep growing mold?
Because moisture keeps getting in. Under the lid rim means condensation, in the base means a bag has leaked, and all-over growth in a garage usually means ambient humidity. Fix the moisture and the mold stops recurring.
Is mold in a trash can dangerous?
The growth itself is a normal household mold, but scrubbing it dry aerosolises spores, which matters for anyone with asthma or a compromised immune system. Wet it first, work outdoors, wear gloves and a mask.
Does vinegar kill trash can mold?
Vinegar has some effect on surface growth, but it is a weak degreaser, so on a greasy can it does not reach the film the mold is feeding on. Detergent plus scrubbing removes more than any spray-on treatment.
Do you have to throw away a moldy trash can?
Usually not - plastic and stainless are non-porous, so the growth is only ever on the surface. Replace it if the body is cracked, if an absorbent part like a gasket or filter housing is affected, or if the growth is inside a sealed sensor lid.
Sources
Every specification on this page traces to one of these, checked at the time of writing. Where a manufacturer does not publish a figure, the page says so rather than estimating it.
Read next
- Odor ControlThe free fixes first, then filters, deodorizers and cans built to contain smell.
- How to clean a trash canThe full method, including the underside of the rim everyone misses.
- How to clean an outdoor garbage canA six-step method that works on a 96-gallon cart without climbing in - and the drying step everyone skips.
- Trash can still smells after cleaningSix reasons a scrubbed can still smells - and why four of them are not in the can at all.
- The best trash can cleanersDegreaser, disinfectant or enzyme - six cleaners and tools, matched to what your can actually has wrong with it.
- How to stop trash can smellSeven steps in order, free ones first, plus the three places residue hides.
The author
Ryder M.
Owner and editor of Lid & Liner, published by Magoo Media Group. He started the site after getting tired of the same problem everyone has: every “best trash can” article covers ten products and none of them tells you whether a 13-gallon bag actually fits a 13-gallon can. Lid & Liner covers one category and tries to cover it completely.
Last reviewed October 6, 2026. Spotted an error? Tell us and we will correct it and note the correction.